1. Square up the quilt. It's hard to put a wonky quilt on a Longarm quilting machine and not have the wonkiness show up.
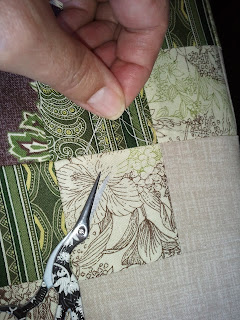
2. Iron and snip. Even if you were careful about snipping threads as you made the blocks, there are still thread here and there sewn into the seams.
 It helps if first you can give the quilt a good shake to lose a batch of the loose threads. Then Press, snip, press, snip, press, snip. It helps to have a large ironing surface. One thing I learned is to keep a trash bin next to you for the threads you are getting rid of. If they brush on the floor, you will pick them up again on your quilt as you continue with the pressing.
One thing I forgot: Measure the quilt for the back before you fold it up nice and pressed. I did have to lay it back out and measure for making my backing.
I am using one of the leftover plain blocks for my label, so I need to make my backing in strips. I know the quilting will affect my label, but that's okay.
Here is the beginning of the quilt label:
It's kind of big for a label, but I had the extra block and I wanted to try this old applique pattern I have. It's from Mckenna Ryan's designs but I can't seem to locate the pattern cover right now, but it is an old one, pre block of the month.
Now onto the back!
On my Knitting needles:
I've been finishing up my Seaweed Vest that I started last year.
purl 3 rows, knit 3 rows, purl 3 rows. Bind off loosely.
Do you like how it finished?
For the armhole I just purled 3 rows, then cast off. It curls in just right and finishes it off without adding to much width.
I like how it turned out.
It's a bit shorter than I wanted, - and I thought I measured well -
so I might just add the same neckline edging to the bottom and it might add about 2".


No comments:
Post a Comment